



















Cleaning High Ceilings
We all know that first impressions count, and the same is true when it comes to your workplace. Cleaning high ceilings may be a job that no one wants to volunteer for, but it's just as important as keeping your floors and surfaces clean.
Whether you're a facility manager tackling the job yourself or you're part of a cleaning crew, Tedbar Tinker Hire has the tips and advice to keep you safe on the job.
Cleaning High Ceilings: Safety at Heights
High ceilings are incredibly popular among architects for adding a sense of spaciousness, but they can collect a surprising amount of dust and grime. Whether the high ceiling in your building is there for form or function, it will need regular cleaning. And before you start your high-ceiling cleaning mission, you'll want to make sure you've ticked all the boxes in terms of health and safety. Here's what you'll need:
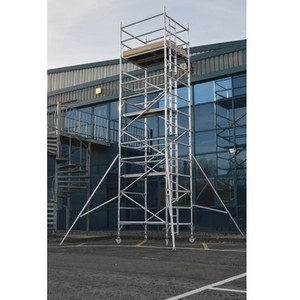
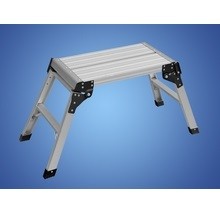
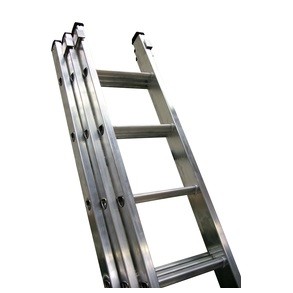
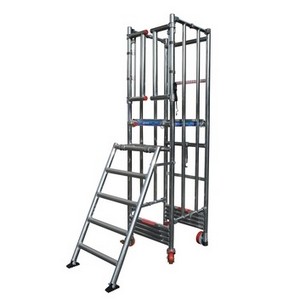
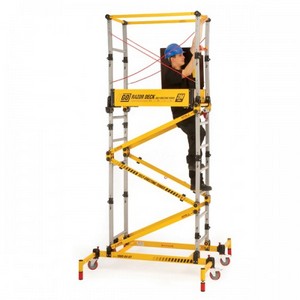
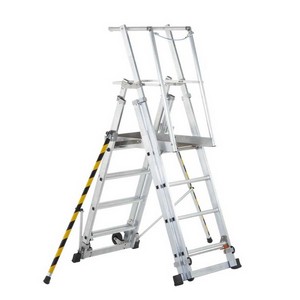
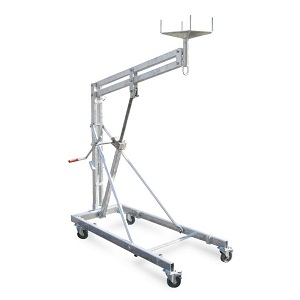
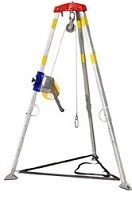
- Sturdy Ladders or Scaffolding - Invest in commercial-grade access equipment with a high weight capacity and wide base for stability. For occasional tasks, you may want to consider renting your equipment, such as ladders or scaffolding for very high ceilings. Scaffolding offers a much more secure platform for working, making the job easier and safer. Whether you opt for a ladder or platform, be sure to inspect it regularly for damage, or hire from a reputable company that backs the safety of its products - like Tedbar Tinker Hire.
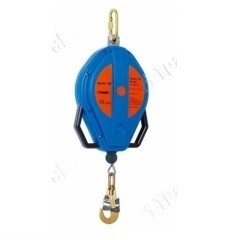
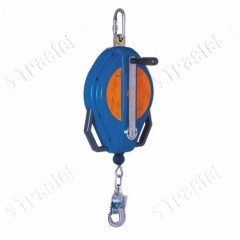
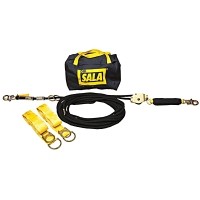
- Fall Protection - While a stable base to work from can help prevent injuries, accidents still happen. Make sure your team is fully equipped with safety harnesses and lifelines that meet Health & Safety regulations.
Best Tools for Cleaning Ceilings
Once the safety side of things has been taken care of, you can turn your focus to the tools that will get the job done. As with anything, having the right tools makes cleaning high ceilings easier and more effective, saving you time, effort, and unnecessary risks. Here are the ceiling cleaning tools we recommend for tackling those hard-to-reach spaces:
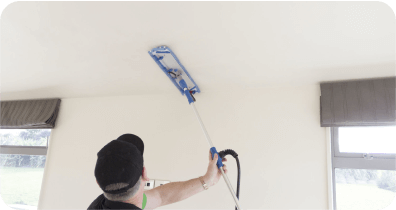
- Telescopic Dusters - With extendable microfiber heads, telescopic dusters are a simple way to trap dust and cobwebs without any heavy lifting. In buildings with modest high ceilings, a good telescopic duster may even negate the need for a ladder or platform. For a lightweight, easy-to-use option that does what it says on the tin, telescopic dusters are a great choice.
- Extension Poles - Looking for a versatile tool that does it all? An extension pole is great for keeping on hand, allowing you to attach various cleaning attachments, such as sponges, squeegees, or even lightbulb changers. With an extension pole, you can carry out multiple tasks from the safety of the floor, improving efficiency and safety.
- High-Reach Mops - For ceilings and walls that need more than just a dusting, high-reach mops with washable microfiber heads are a game-changer. They’re perfect for removing grime and reducing the risk of slips and falls.
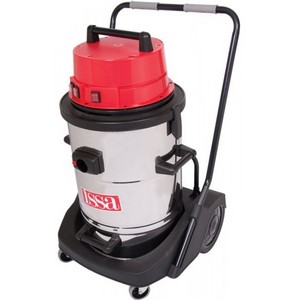
- Vacuum Cleaners with Extension Wands - When it comes to tougher dirt and debris, a powerful vacuum cleaner with an extension wand is your best friend. Vacuums suck up dust bunnies and cobwebs easily, requiring less elbow grease to get the job done.
For particularly high ceilings or those with a textured surface, standard off-the-shelf tools may not be up to the task. In these cases, specialised cleaning equipment is a must.
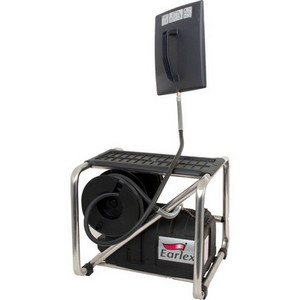
- Space Vacuums - With a long hose and a remote-controlled cleaning head, space vacuums make it even easier to clean high ceilings.
- Magnetic Dusters - For flat metal surfaces, magnetic dusters with telescopic handles allow you to clean the underside of the ceiling without fighting gravity.
Practical Cleaning Tips:
- Schedule regular cleans to prevent build-up. High ceilings in offices or public spaces should generally be cleaned every 3-6 months, while industrial settings may require cleaning more often depending on dust levels.
- Start with a plan. Divide the area into manageable sections to prevent any spots from being missed.
- Cover furniture and equipment. Protect items below the cleaning area with dust sheets to avoid any damage from falling debris.
- Always have someone nearby for added safety, especially when using ladders or scaffolding.
- Follow manufacturer guidelines and always read the instructions for any rented or specialised equipment.
With Tedbar Tinker Hire, you can hire access equipment in Sheffield quickly, cost-effectively and easily. So, equip your team, conquer those cobwebs, and keep your workspace looking its best!
Related Articles
Tedbar Tinker Tool Hire Company
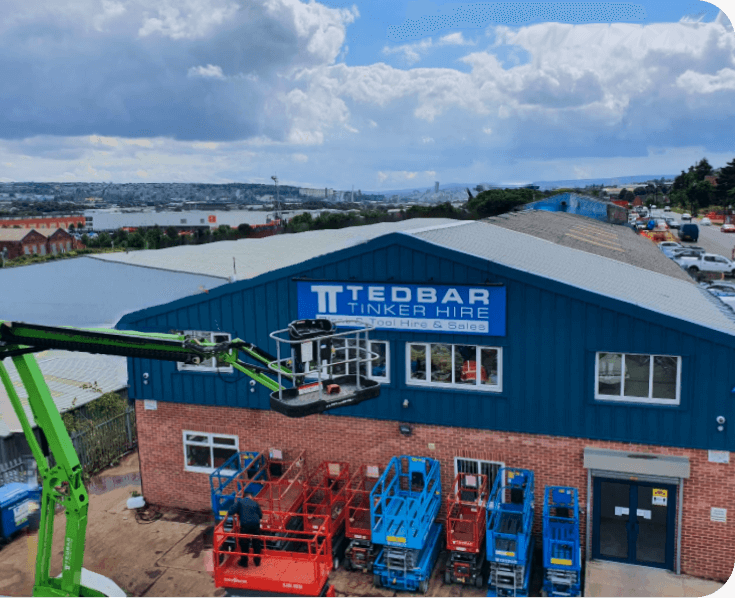
Tedbar Tinker Hire is a professional tool hire company located in Sheffield. From tool hire for smaller projects, like paint sprayer and nail gun hire, to larger kit and more specialised projects, we have everything you need to get the job done.
Whether you’re a DIY enthusiast or a professional contractor, we cater to a wide range of needs with a focus on quality, reliability, and convenience. Our inventory includes equipment for a variety of tasks, ensuring you can complete your project with ease.
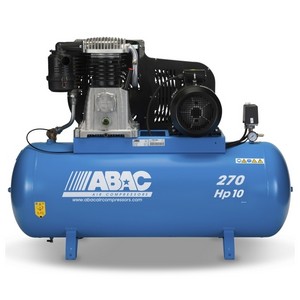
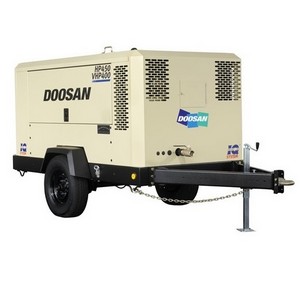
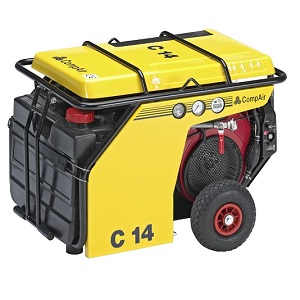
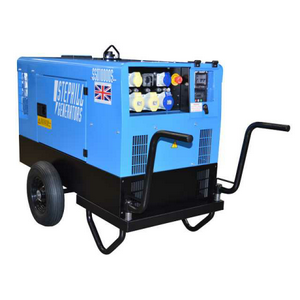
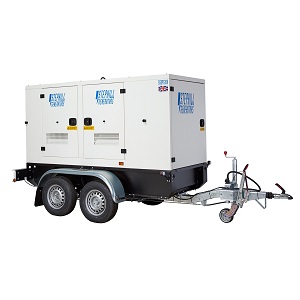
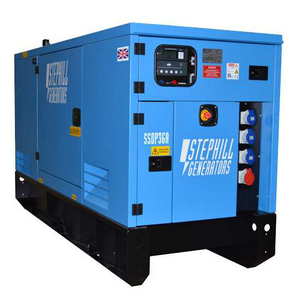
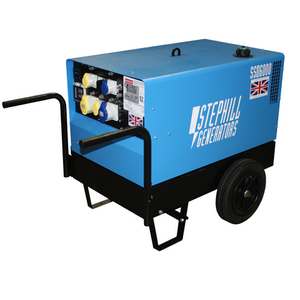
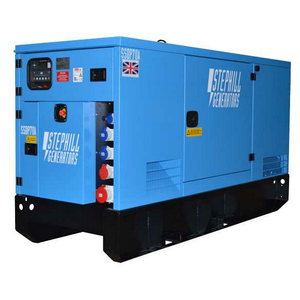
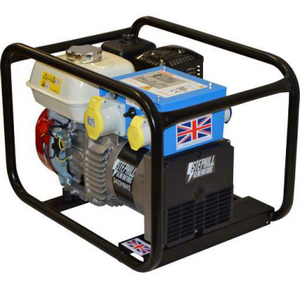
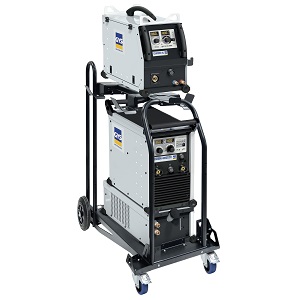
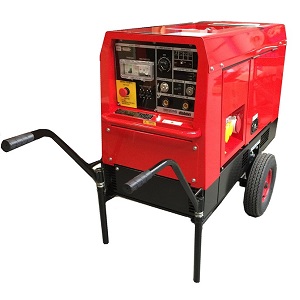
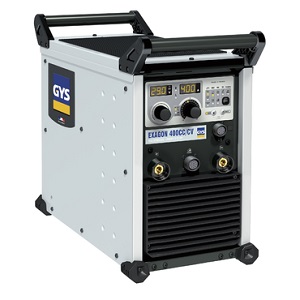
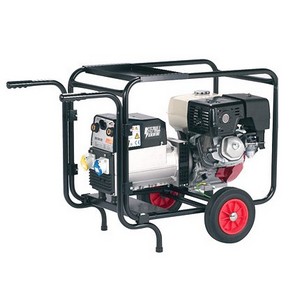
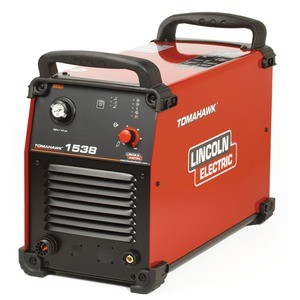
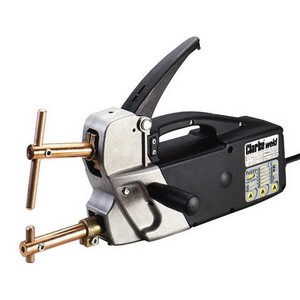
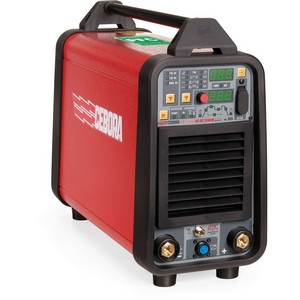
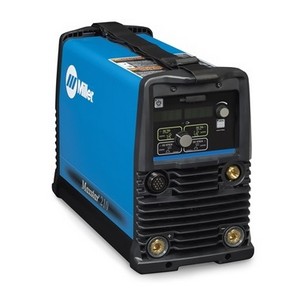
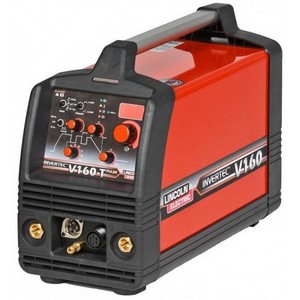
Our specialisms include welder generators up to 600 amps and also inverters, TIG, MIG, spot, and one-handed petrol arc units. And if it’s power generation you’re looking for, we have generators up to 125kVA and compressors up to 600CFM.
Whether you’re fabricating, constructing, decorating, or accessing, you’ll find everything you’re looking for at Tedbar Tinker Hire, with delivery nationwide. With an extensive range of tools, expert advice, and hassle-free delivery, Tedbar Tinker Hire is here to help you get the job done right the first time.
How to Join a Worktop
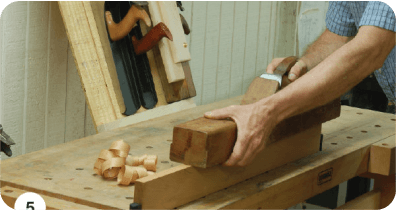
Creating an attractive and long-lasting benchtop often involves joining separate pieces of material and leaving as little visible seam as possible. From commercial kitchens to garage benchtops you want a work surface that will stand the test of time, free of water ingress, weak spots or wear. Whether you’re working with wood, laminate, or square-edged profiles, getting the process right is crucial to the end result.
Here are our tips for professional results every time.
What You’ll Need:
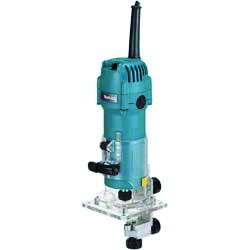
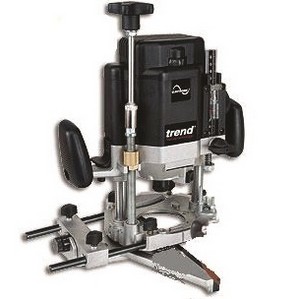
- Router - For cutting grooves or slots precisely in the worktops.
- Clamps - For holding pieces tightly while adhesive sets.
- Straight Edge - Helps ensure edges and corners are properly aligned.
- Waterproof Adhesive - Provides a strong and long-lasting bond.
How to Join Worktops
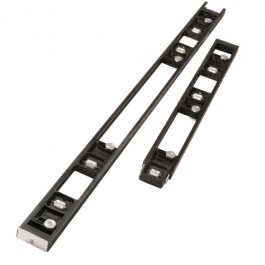
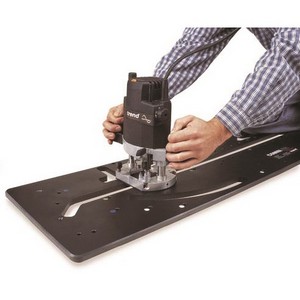
There are a variety of methods for joining worktops, so when deciding which is best for your project, consider the material and desired finish. For any shaping or cutouts, we recommend investing in a worktop jig, which ensures you get the best possible result. Here’s a closer look at the most common techniques, their ideal applications, and how to execute them effectively:
Biscuit Joinery
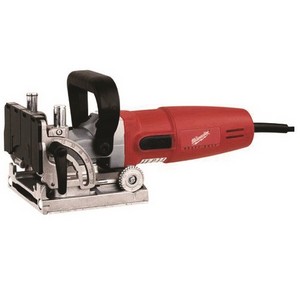
Biscuit joinery is a reliable method for aligning edges and providing extra strength. It’s particularly well-suited for lightweight wooden or laminate worktops and is a favourite among DIY enthusiasts and professionals alike.
To begin, ensure the edges are smooth and mark where the biscuits will go. Use a biscuit jointer to cut matching slots in both edges, ensuring they are consistent in size and depth. Apply glue into the slots and along the edges, insert the biscuits, and press the worktops together. Secure the join with clamps and allow ample time for the adhesive to set.
Butt Joints with Connecting Bolts
This method is simple and often used for laminate worktops, providing a clean, invisible join.
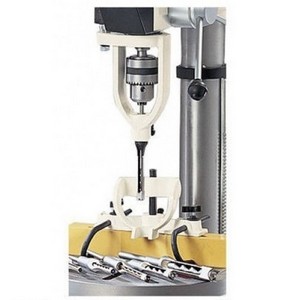
Start by drilling holes underneath the worktops for the connecting bolts. Spread adhesive evenly along the edges and align the worktops so they meet flush. Tighten the bolts securely, ensuring the top surface is level and the join is seamless. Allow the adhesive to dry completely before use.
Spline Joints
Spline joints are an excellent choice for solid wood worktops. They provide strength while maintaining a continuous grain pattern.
Use a router to cut matching grooves along the edges of both worktops. Prepare a thin strip of wood, or spline, to fit snugly into the grooves. Apply glue into the grooves and on the spline, then press the worktops together. Clamp the join tightly until the adhesive dries.
Preparing Your Worktops
Like any project, the preparation is your foundation for success. Ensuring the edges are straight, smooth, and clean will set you up for less time spent remedying a mismatched angle or messy join. Not only that, but poorly prepared edges can lead to weak bonds or uneven finishes, so attention to detail is a must.
Start by inspecting the edges for chips, uneven cuts, or other damage. Sand or plane the edges to create a clean, straight surface, and use a straight edge or square to confirm that the corners align perfectly. Once the edges are smooth and properly aligned, clean them thoroughly to remove any dust, debris, or grease, allowing the adhesive to do its job properly.
How to Join Square-Edged Worktops
Square-edged worktops are popular for their sleek appearance, but their sharp edges make them more challenging to join. Even minor misalignments or gaps are more noticeable compared to other profiles.
For joining square-edged worktops, biscuit joinery is often the best choice, allowing for precise alignment, which helps maintain a polished look. Butt joints with connecting bolts can work as a simpler alternative, though additional sanding or finishing may be needed to achieve a flawless result.
When working with square-edged worktops, start by ensuring the edges are perfectly straight and free of damage. Use a straight edge or square to check alignment during preparation. Apply even pressure with clamps to prevent movement while the adhesive sets. Afterwards, lightly sand the seam to blend the join with the rest of the surface, taking care not to disrupt the square profile.
Tips for a Strong and Neat Join
A few simple tips can help you achieve professional results:
- Dry Fit First - Test the alignment before applying adhesive or bolts to avoid surprises.
- Clamp Evenly - Apply consistent pressure along the joint to ensure a tight fit.
- Clean Up Glue Immediately - Wipe away excess adhesive for a cleaner finish.
- Sand Smoothly - Lightly sand the join to eliminate uneven areas without damaging the surface.
Now that you know the methods and techniques, you’re ready to tackle your project with confidence. Hire the tools you need from Tedbar Tinker Hire and tackle your next project with confidence. Explore the full range on our website or contact us today to discuss your tool hire needs.
Related Articles
Tedbar Tinker Tool Hire Company
Tedbar Tinker Hire is a professional tool hire company located in Sheffield. From tool hire for smaller projects, like paint sprayer and nail gun hire, to larger kit and more specialised projects, we have everything you need to get the job done.
Whether you’re a DIY enthusiast or a professional contractor, we cater to a wide range of needs with a focus on quality, reliability, and convenience. Our inventory includes equipment for a variety of tasks, ensuring you can complete your project with ease.
Our specialisms include welder generators up to 600 amps and also inverters, TIG, MIG, spot, and one-handed petrol arc units. And if it’s power generation you’re looking for, we have generators up to 125kVA and compressors up to 600CFM.
Whether you’re fabricating, constructing, decorating, or accessing, you’ll find everything you’re looking for at Tedbar Tinker Hire, with delivery nationwide. With an extensive range of tools, expert advice, and hassle-free delivery, Tedbar Tinker Hire is here to help you get the job done right the first time.
DIY Toolkit Essentials
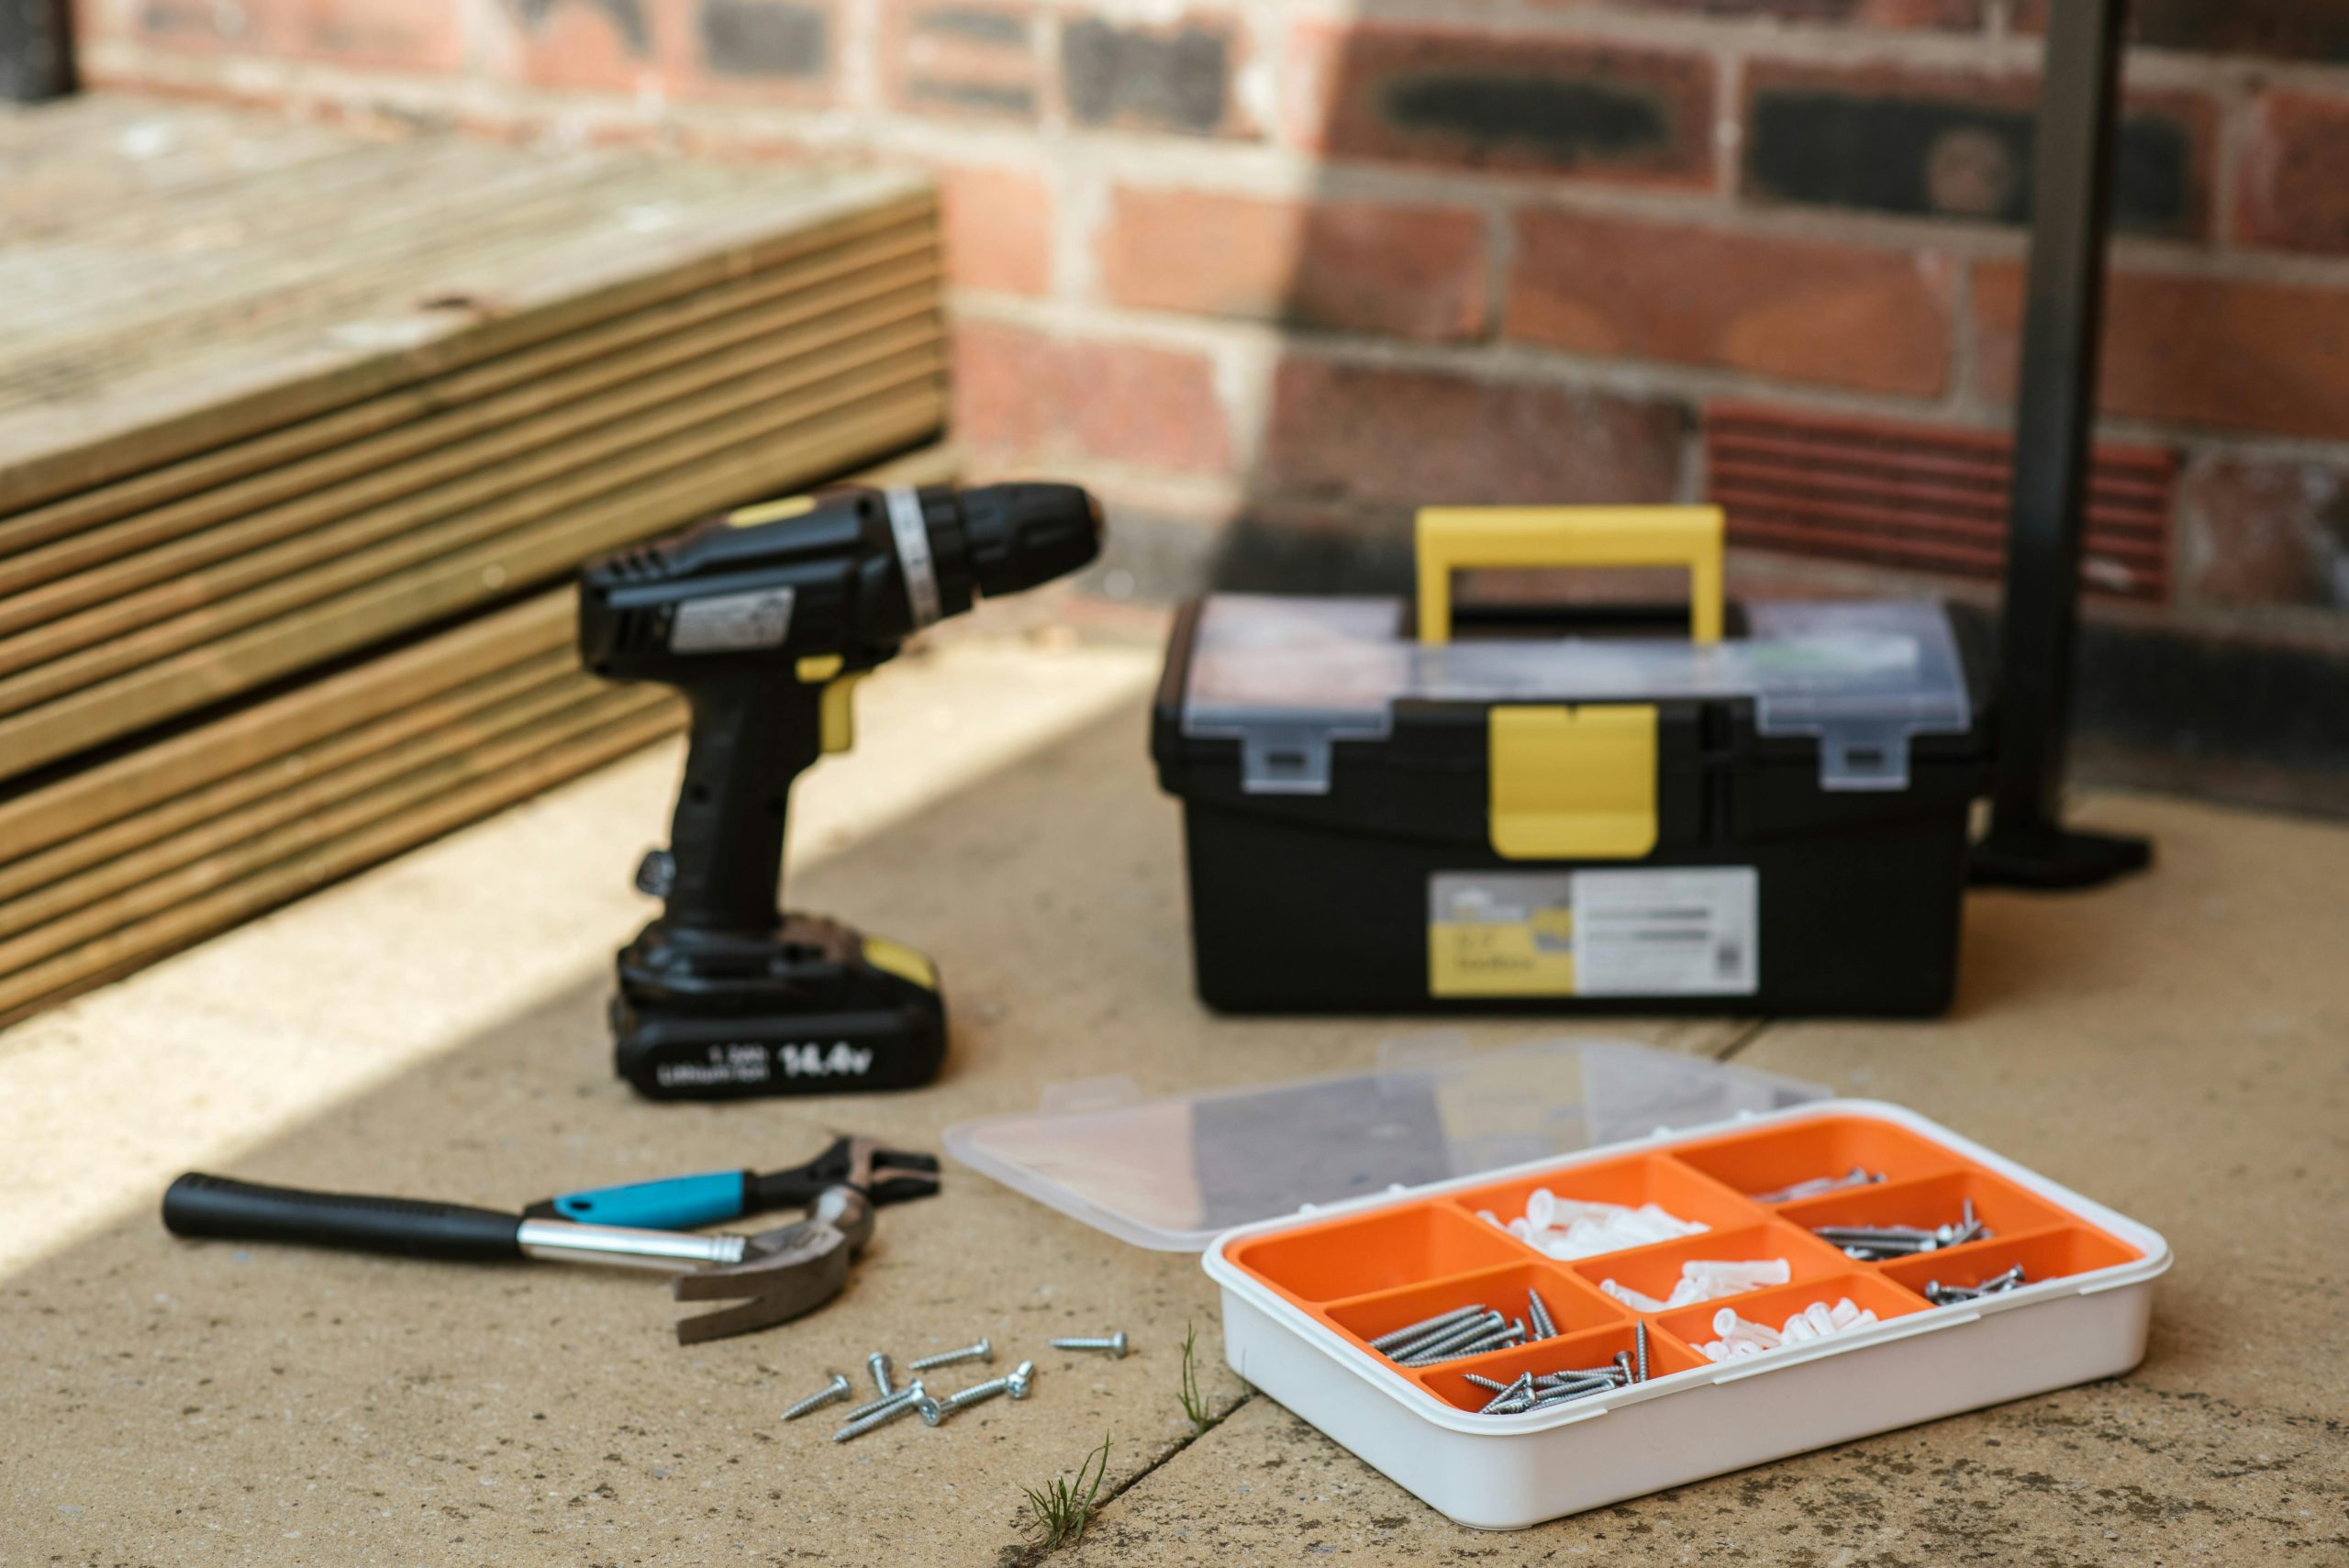
Whether you’re a keen DIYer or starting from scratch, there are a few toolkit essentials everyone should have easy access to. From woodwork and decorating to renovating your home, a well-stocked toolbox allows you to hit the ground running and begin crossing some of those tasks off your “to-do” list.
Not sure where to start? Tedbar Tinker Hire has you covered with our breakdown of the DIY toolkit essentials that should be in every home. Start working your way through the list, picking up one or two new tools a month, and before you know it, you’ll have everything you need to build your confidence and conquer most home maintenance tasks.
The Foundation: Hand Tools
Every great toolkit begins with the basics, and hand tools are a DIY toolkit essential. They may take a little more elbow grease than power tools, but they’ll help you tackle a wide range of tasks, from assembling furniture to fixing minor issues around the house. Whether you’re measuring, cutting or hammering, these toolbox must-haves provide the functionality and reliability needed for most jobs.
- Tape Measure: A 5-8 metre retractable tape measure is ideal for taking accurate measurements for various projects.
- Level: A torpedo level helps ensure shelves are straight and pictures hang plumb.
- Hammer: A medium-sized claw hammer is perfect for driving nails and prying apart boards.
- Saws: A hacksaw tackles metal, while a handsaw cuts wood for smaller projects.
- Screwdrivers: A set of Phillips and flathead screwdrivers handles most screw-driving needs.
- Utility Knife: This multi-purpose tool cuts through cardboard, rope, and other materials.
- Pliers: Adjustable pliers grip various objects while locking pliers come in handy for stubborn nuts and bolts.
Power Up: Essential Power Tools
When it’s time to take your DIY game to the next level, power tools are a must-have. These tools bring efficiency and power to your projects, saving you time and effort on tougher jobs. From drilling precise holes to making intricate cuts, adding these toolkit essentials to your collection will expand the types of projects you can confidently take on.
- Drill: A cordless drill with various drill bits and driver attachments tackles a wide range of tasks, from hanging shelves to assembling furniture.
- Circular Saw: This versatile saw cuts through wood for flooring projects, creating straight cuts or breaking down lumber.
- Jigsaw: For intricate cuts and curves in wood or plywood, a jigsaw offers unparalleled manoeuvrability.
- Sander: An orbital sander smooths rough surfaces before painting or staining.
- Shop Vacuum: Although this isn’t technically an essential, having a dedicated heavy-duty vacuum keeps dust and debris under control while you work.
Safety First: Essential Personal Protective Equipment (PPE)
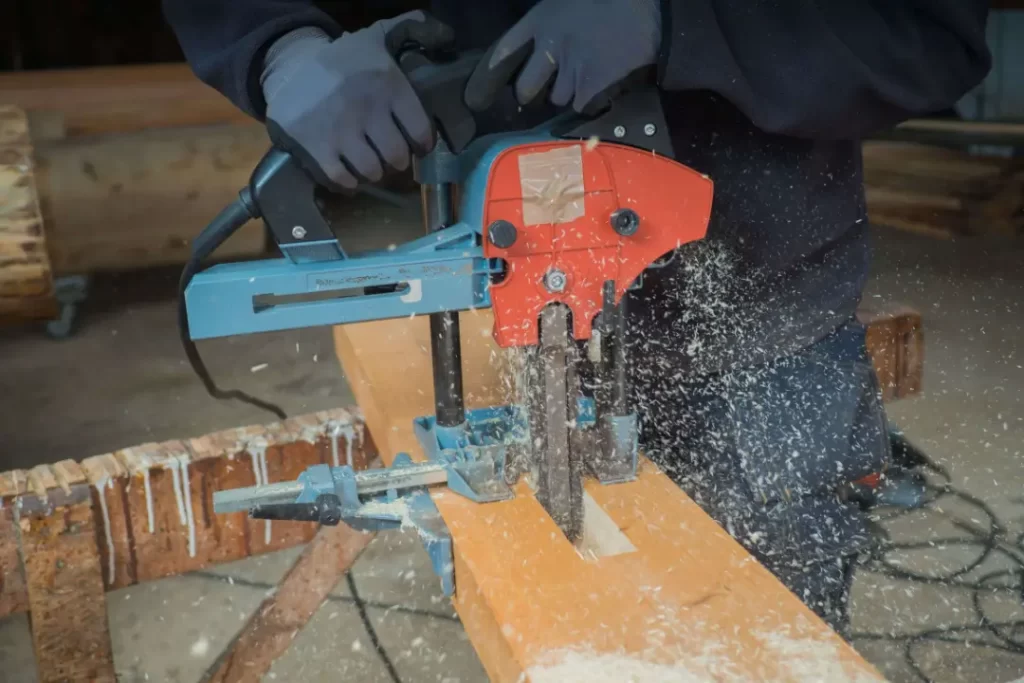
Your safety should always come first when working on any DIY project. Proper personal protective equipment (PPE) is a non-negotiable toolkit essential, keeping you protected from potential hazards.
- Safety Glasses: Protect your eyes from flying debris while drilling, sawing, or hammering.
- Work Gloves: Protect your hands from cuts, blisters, and splinters.
- Dust Mask: Wear a dust mask when working with drywall, sanding, or creating dust.
- Hearing Protection: Earmuffs or earplugs are crucial when using loud power tools like circular saws.
The Only Thing Missing Is You
With this essential toolkit and a little know-how, you'll be well on your way to tackling most home building and maintenance projects with confidence.
- Invest in quality tools that will last.
- Read the instruction manuals before using any power tools.
- Store tools properly in a toolbox or designated area for easy access and organisation.
So, there you have it! Grab your tools, unleash your inner builder, and transform your home into a space you love. And, if you don’t want to invest in expensive kit for a one-off project, remember that Tedbar Tinker Hire has a great range of tools for hire. Our friendly team are here to help, so give us a call or get in touch by email if there’s anything we can do to help.
Related Articles
Tedbar Tinker Tool Hire Company
Tedbar Tinker Hire is a professional tool hire company located in Sheffield. From tool hire for smaller projects, like paint sprayer and nail gun hire, to larger kit and more specialised projects, we have everything you need to get the job done.
Whether you’re a DIY enthusiast or a professional contractor, we cater to a wide range of needs with a focus on quality, reliability, and convenience. Our inventory includes equipment for a variety of tasks, ensuring you can complete your project with ease.
Our specialisms include welder generators up to 600 amps and also inverters, TIG, MIG, spot, and one-handed petrol arc units. And if it’s power generation you’re looking for, we have generators up to 125kVA and compressors up to 600CFM.
Whether you’re fabricating, constructing, decorating, or accessing, you’ll find everything you’re looking for at Tedbar Tinker Hire, with delivery nationwide. With an extensive range of tools, expert advice, and hassle-free delivery, Tedbar Tinker Hire is here to help you get the job done right the first time.