







































How to Join a Worktop
Creating an attractive and long-lasting benchtop often involves joining separate pieces of material and leaving as little visible seam as possible. From commercial kitchens to garage benchtops you want a work surface that will stand the test of time, free of water ingress, weak spots or wear. Whether you’re working with wood, laminate, or square-edged profiles, getting the process right is crucial to the end result.
Here are our tips for professional results every time.
What You’ll Need:
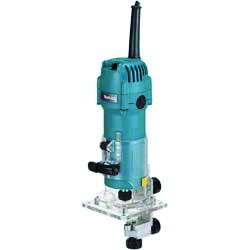
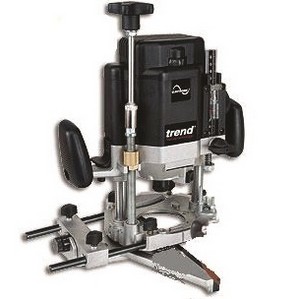
- Router - For cutting grooves or slots precisely in the worktops.
- Clamps - For holding pieces tightly while adhesive sets.
- Straight Edge - Helps ensure edges and corners are properly aligned.
- Waterproof Adhesive - Provides a strong and long-lasting bond.
How to Join Worktops
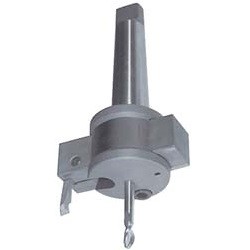
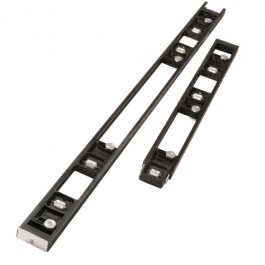
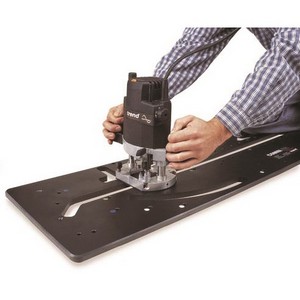
There are a variety of methods for joining worktops, so when deciding which is best for your project, consider the material and desired finish. For any shaping or cutouts, we recommend investing in a worktop jig, which ensures you get the best possible result. Here’s a closer look at the most common techniques, their ideal applications, and how to execute them effectively:
Biscuit Joinery
Biscuit joinery is a reliable method for aligning edges and providing extra strength. It’s particularly well-suited for lightweight wooden or laminate worktops and is a favourite among DIY enthusiasts and professionals alike.
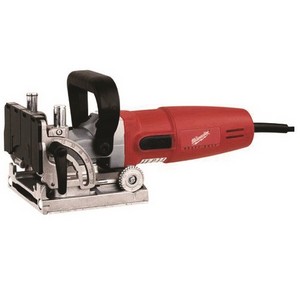
To begin, ensure the edges are smooth and mark where the biscuits will go. Use a biscuit jointer to cut matching slots in both edges, ensuring they are consistent in size and depth. Apply glue into the slots and along the edges, insert the biscuits, and press the worktops together. Secure the join with clamps and allow ample time for the adhesive to set.
Butt Joints with Connecting Bolts
This method is simple and often used for laminate worktops, providing a clean, invisible join.
Start by drilling holes underneath the worktops for the connecting bolts. Spread adhesive evenly along the edges and align the worktops so they meet flush. Tighten the bolts securely, ensuring the top surface is level and the join is seamless. Allow the adhesive to dry completely before use.
Spline Joints
Spline joints are an excellent choice for solid wood worktops. They provide strength while maintaining a continuous grain pattern.
Use a router to cut matching grooves along the edges of both worktops. Prepare a thin strip of wood, or spline, to fit snugly into the grooves. Apply glue into the grooves and on the spline, then press the worktops together. Clamp the join tightly until the adhesive dries.
Preparing Your Worktops
Like any project, the preparation is your foundation for success. Ensuring the edges are straight, smooth, and clean will set you up for less time spent remedying a mismatched angle or messy join. Not only that, but poorly prepared edges can lead to weak bonds or uneven finishes, so attention to detail is a must.
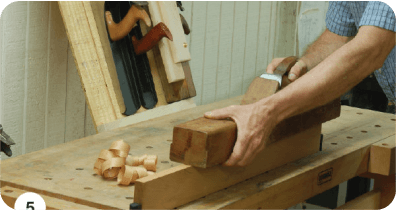
Start by inspecting the edges for chips, uneven cuts, or other damage. Sand or plane the edges to create a clean, straight surface, and use a straight edge or square to confirm that the corners align perfectly. Once the edges are smooth and properly aligned, clean them thoroughly to remove any dust, debris, or grease, allowing the adhesive to do its job properly.
How to Join Square-Edged Worktops
Square-edged worktops are popular for their sleek appearance, but their sharp edges make them more challenging to join. Even minor misalignments or gaps are more noticeable compared to other profiles.
For joining square-edged worktops, biscuit joinery is often the best choice, allowing for precise alignment, which helps maintain a polished look. Butt joints with connecting bolts can work as a simpler alternative, though additional sanding or finishing may be needed to achieve a flawless result.
When working with square-edged worktops, start by ensuring the edges are perfectly straight and free of damage. Use a straight edge or square to check alignment during preparation. Apply even pressure with clamps to prevent movement while the adhesive sets. Afterwards, lightly sand the seam to blend the join with the rest of the surface, taking care not to disrupt the square profile.
Tips for a Strong and Neat Join
A few simple tips can help you achieve professional results:
- Dry Fit First - Test the alignment before applying adhesive or bolts to avoid surprises.
- Clamp Evenly - Apply consistent pressure along the joint to ensure a tight fit.
- Clean Up Glue Immediately - Wipe away excess adhesive for a cleaner finish.
- Sand Smoothly - Lightly sand the join to eliminate uneven areas without damaging the surface.
Now that you know the methods and techniques, you’re ready to tackle your project with confidence. Hire the tools you need from Tedbar Tinker Hire and tackle your next project with confidence. Explore the full range on our website or contact us today to discuss your tool hire needs.
Related Articles

Tedbar Tinker Tool Hire Company
Tedbar Tinker Hire is a professional tool hire company located in Sheffield. From tool hire for smaller projects, like paint sprayer and nail gun hire, to larger kit and more specialised projects, we have everything you need to get the job done.
Whether you’re a DIY enthusiast or a professional contractor, we cater to a wide range of needs with a focus on quality, reliability, and convenience. Our inventory includes equipment for a variety of tasks, ensuring you can complete your project with ease.
Our specialisms include welder generators up to 600 amps and also inverters, TIG, MIG, spot, and one-handed petrol arc units. And if it’s power generation you’re looking for, we have generators up to 125kVA and compressors up to 600CFM.
Whether you’re fabricating, constructing, decorating, or accessing, you’ll find everything you’re looking for at Tedbar Tinker Hire, with delivery nationwide. With an extensive range of tools, expert advice, and hassle-free delivery, Tedbar Tinker Hire is here to help you get the job done right the first time.